Easter bunny egg: the pattern
Hello sweeties,
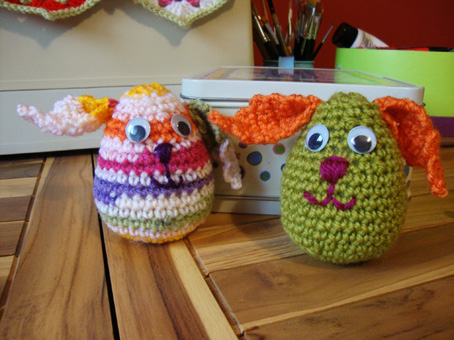
This is today, as promised, how to crochet your little bunny egg ! It is very simple and easy and I’ll try my best to make my explanations clear 😉
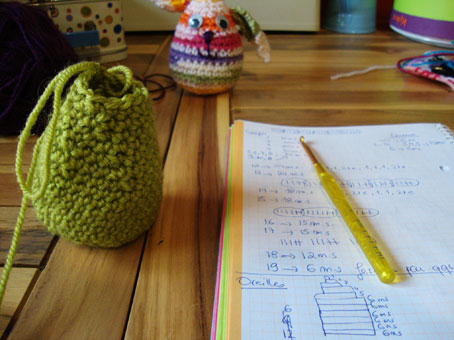
First, you have to choose your yarn and a crochet hook a little smaller then the one suggested on your yarn…to have a neat look and tight stitches….so the stuffing won’t appear between the stitches…
I made my bunny with a 100% acrylic yarn and choose a 3.5 mm crochet hook instead of the 4.5mm suggested on the yarn…
I’ll explain here the pattern using the U.K terms…Remember a dc in the U.K terms means a sc in the U.S terms ans a “maille serree” in the French terms…a “2-st dc decrease” means in french: 2 mailles serrees tirees ensemble…
The pattern is made mostly with dc…
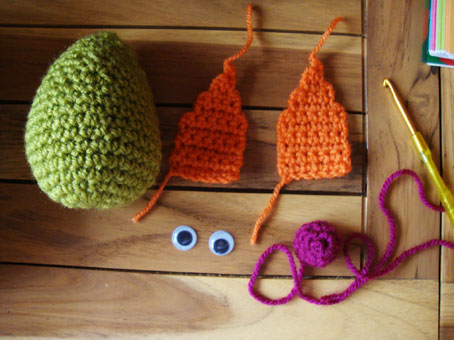
The bunny is made with: one body-egg, 2 ears and one tail…
So? Are you readyyyyyyyyyyyy? let’s make it!
Let’s begin first with the body-egg part:
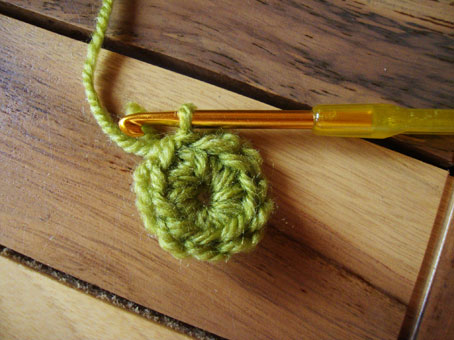
Round1: In a circle made with 4ch, crochet 10 dc.
Rnd2: make 2dc on every stitch of the previous round: that means 20 dc
Rnd3: 20dc
Rnd4: 30 dc (crochet one dc, 2dc, one dc, 2dc etc on every stitch of the previous round)
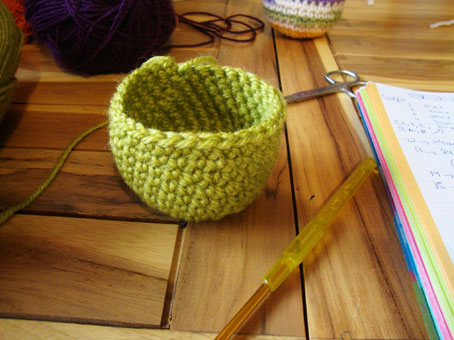
Rnd5 to Rnd11: 30dc (7 rounds of 30dc each)
Now, you have to begin the “decreasing” part:
Round12: 24 dc (1dc, 1dc, 1dc, 2-st dc decrease, 1dc, 1dc, 1dc, 2-st dc decrease, etc etc on every stitch of the previous rnd)
Rnd13: 24 dc
Rnd14: 18 dc (1dc, 1dc, 2-st dc decrease, 1dc, 1dc, 2-st dc decrease, etc etc on every stitch of the previous round)
Rnd:15 18 dc
Rnd16: 15 dc (1dc, 1dc, 1dc, 1dc, 2-st dc decrease, 1dc, 1dc, 1dc, 1dc, 2-st dc decrease, etc etc on every stitch of the previous rnd)
Rnd17: 15 dc
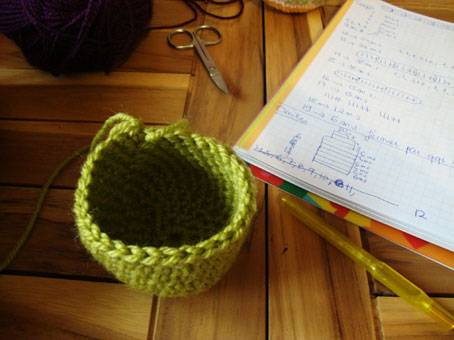
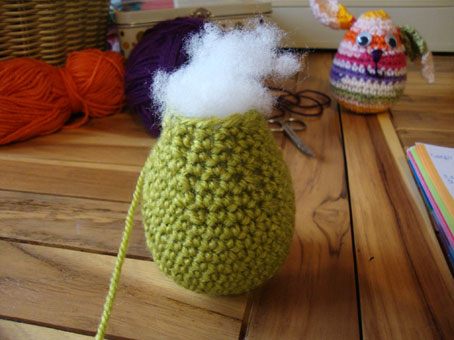
Stuff here your egg!
Rnd18: 12 dc (1dc, 1dc, 1dc, 2-st dc decrease, 1dc, 1dc, 1dc, 2-st dc decrease, etc etc on every stitch of the previous rnd)
Rnd19: 6 dc (2-st dc decrease, 2-st dc decrease, etc etc)
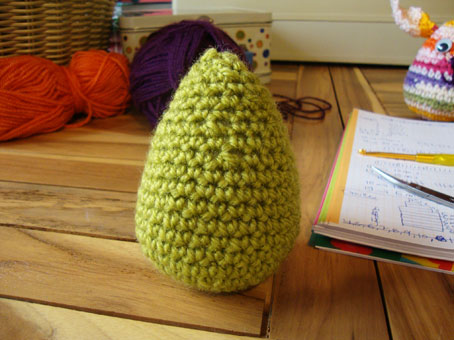
Sew some stitches to close your egg!
You’ve got now an Easter egg…You can just make Easter eggs following the pattern above …Colorful, striped eggs etc
or you can continue to make your little bunny 😉
The Ears:
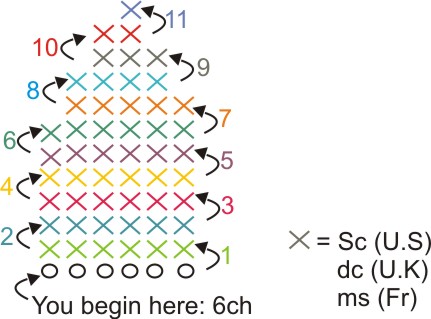
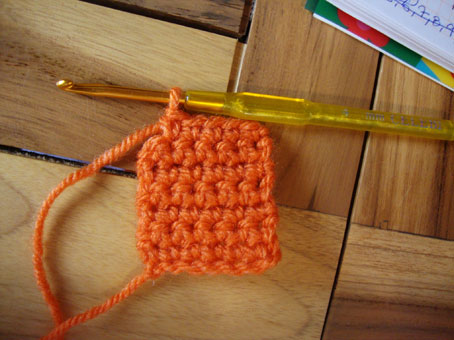
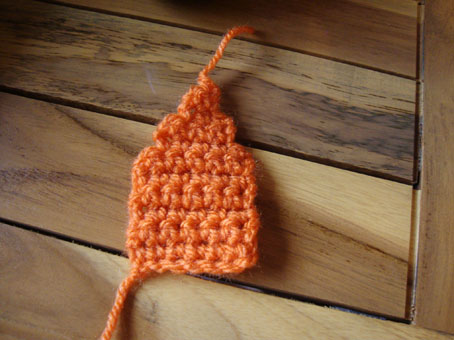
The ears are worked in rows. To make an ear:
Row1: Crochet on a row of 6ch, 6 dc
And continue following the graph below until row11:
You’ve got an ear ! Make another one!
You still have the tail to make and all the body parts of your little bunny will be ready 🙂
The tail: Worked in rounds.
Round 1: In a circle made of 3ch, crochet 6 dc.
Rnd2: 9 dc (1dc, 2dc, 1dc, 2dc on each stitch of the previous round)
Rnd3 and 4: 9 dc.
The tail is done! Your little bunny is almost ready…
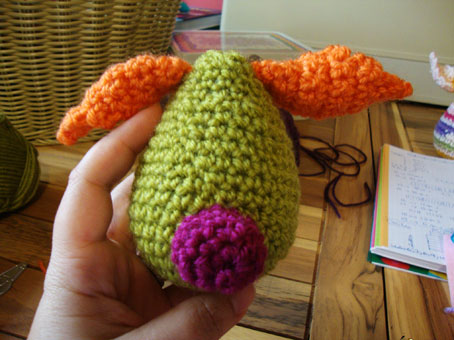
You have just to sew all its parts together…
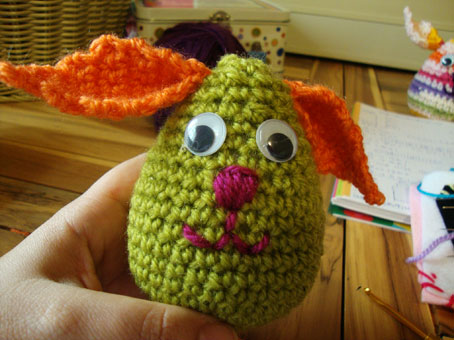
Fold in two each ear before sewing it to the body…
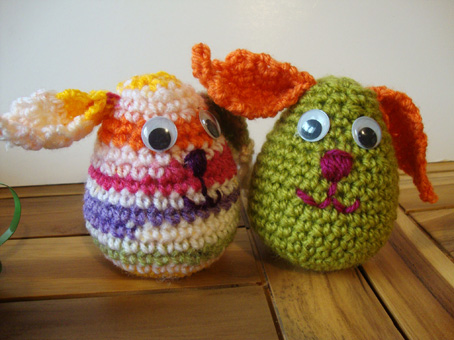
Sew two eyes, or use beads or glue ready-craft-eyes …
Sew the nose…
Stuff a little the tail before sewing it to the back of the body…
Your Easter bunny egg is ready 🙂
Happy crocheting my friend!
Sucrette
P.S: For any question, do not hesitate to e-mail me at: sucrette@lemondedesucrette.com and I’ll be more than happy to help!


Merci de partager ce petit lapin avec nous. Il est si mignon, je m’y mets tout de suite ! Bonne journée !
Merci pour le partage, ils sont trop mignons !!!
Bonne journée, bisous
THANK YOU Angie! 😀 This is so very quick & simple 🙂
Mo x
merci pour les explications , il est tellement mignon que je vais le tester de suite!
bonne journée!
Merci pour le partage de tes explications qui me paraissent très claires ! Très bonne journée à toi !
merci beaucoup pour le partage, je vois que tu avais compris mon petit anglais!!!! bises et bonne journée!!!
It is healthy! Fine idea and execution, as well as all the rest at you! Thanks! 🙂
thank u so much for sharing this pattern
Thank you !!! It so cute !!! 😉
MERCI !
Tes explications sont très claires et très complètes (photos et diagramme),
je vais donc retenter l’expérience !!
Si je réussi, tu seras la 1ère à le savoir…
Bisous
Betty
Hi,
thank you….. they are so cute and very easy!!!!!!!!
Ivana
Merci pour ces explications que tu as bien voulu transmettre, ils sont super mignons, ça sent le printemps et Paques, grooooooooooos bisous et bonne journée à toi
Thank you! I have to make some of these!!
Lovely! I just got some colorful yarn and I’m going to make some to turn my Easter bright – we are having the season’s last rains here now. Thank you so much for sharing!
Kisses from Brazil
Renate
I can’t wait to make a few of these cuties for my kids’ Easter baskets!
Love it! I am not very creative so how would you make a kitty out of that also?
thanks so much.
Sharon
coucou merci beaucoup
Sandy
Awe, what a sweet set of bunnies! i love the egg shape. Thanks for a great pattern!
Blessings,
Susie
So super, super, SUPER cute!
Thank you so much for the pattern; so simple but so cute! My grand-daughter will get a few of these for Easter (she is 4). Take care; have a good weekend!
Merci pour ce tuto trop mignon ! Bon week end !
thanks for this pattern! 🙂 it’s very cute. Have a good day/night!
Oh so cute Angie!! Thank you for the tutorial 🙂 hugs Ellyx
merci beaucoup pour les explications !
bon week-end
Maryse
Hi Angie, love that cute wee bunny egg. I sat down last night and made a hot pink one for my neice. My ears are not quite right but will try them again. I’m sure she will love it! thanks for the pattern. sue~nz.
what a cute bunny….thanks so much for your sharing..i am a fan of your site…thanks for inspiring us with all your crochet and ideas..do drop by my blog whenever you are free….
Thanks for sharing!!!! is lovely!!!!
kissses ♥
Very good publish, potentially superb to see considerably like this.
Merci pour ce tuto qui m’a permis de faire ma première réalisation au crochet! http://letheacoudre.blogspot.ca/2012/12/premier-crochet.html
Merci pour tout ton travail que tu partages avec nous!
Joyeuses fêtes de Noël!
Fanny
Thank you. Very nice.
Merci pour ce tuto, c’est vraiment très joli…je vais surement le faire ! dommage que les explications soient si longues pour les imprimer!
merci encore!