Hello hellooooo
How are you sweet ladies around the globe?

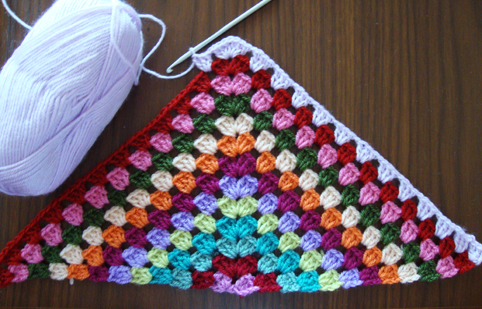
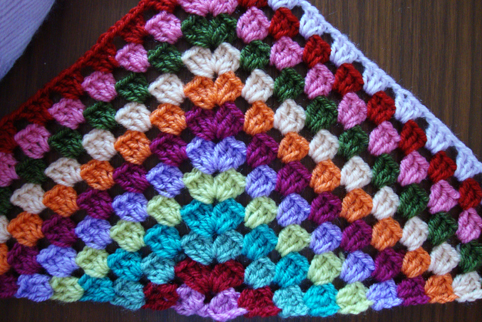
No, this is not a new project on the go…this is just a granny square I’ve made specially for you for this post with a step by step pics to show you how I hide the yarn ends in my projects as many of you asked me already…Each round is made with a different colour…ladies, don’t be afraid anymore to use many colours in your projects, this is how you’ll proceed…very easy…
I’ve made round 1 in purple…I closed it with a slip stitch and cut my yarn…

Now, I’ll hide the yarn ends with the same hook I’m using to crochet. Yes, with the same hook and as I go, round after round, I’ll hide the yarn ends…no needs for any needle here…
I turn the round 1 to the back…

Now I insert the hook between the stitches of the same color on the back of my square…hook it and pull through…


and then cut the part that is left…

This is the back of my square…as neat as the front … now, let’s do the same steps for round 2 in teal… This is the front of my 2rounds-squares…

Let’s turn it on its back…Here we have two teal-yarn-ends to hide

We begin with the first one inserting the hook on the teal stitches…

Always always try to remember this simple rule: You hide the yarn end of color1 under the stitches of the same colour on the back of your project for a neat result.


You cut the first teal yarn end and you continue hiding the second one…

using the same technique…inserting the hook…pulling through the teal stitches of the back of your squares…then cutting the small part that is left…


Now look at the back of the two rounds square…

as neat as the front…

You’ll do the same steps for each and every round as you go 😉 simple no?


Here you are…with a neat granny square without any yarn ends to hide with a needle or with anything else…

Now you’ll not be afraid anymore to work with as many colours as you want … with this simple technique to hide your yarn ends as you go, after each round you’ll finish and with the same hook you’re crocheting with 🙂
Hope my instructions were clear for you as I’m not very used to explain with english…
Do not hesitate to ask any question you want…
Have a wonderful weekend my friend,
Kisses and hugs
Sucrette
