or how to add rows if you’re not pleased with your first colors rows and you don’t want to unravel…
or how to crochet your ripple from both sides…
Hello hello hello!
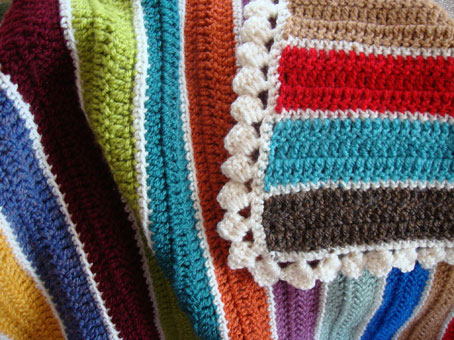
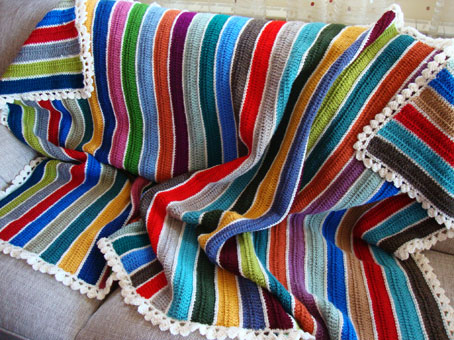
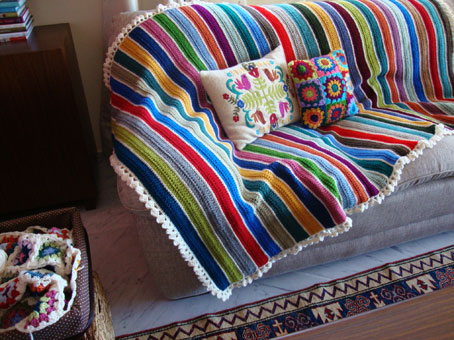
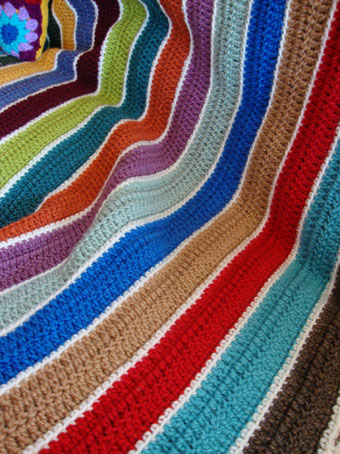
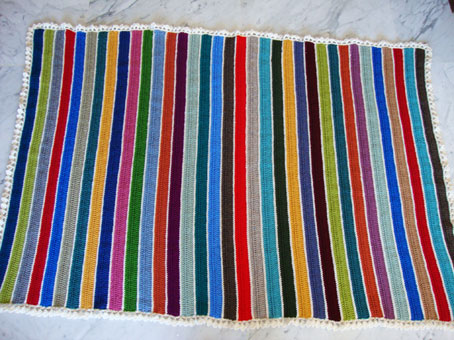
So, as you already guessed from the title(s) of this post, today I’m gonna show you how I changed the hole look of my ripple by adding some rows to its beginning side…
Let’s be clearer with some pics 😉
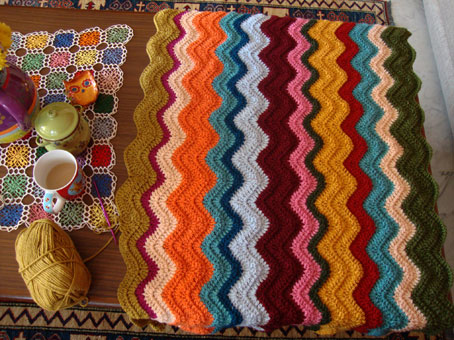
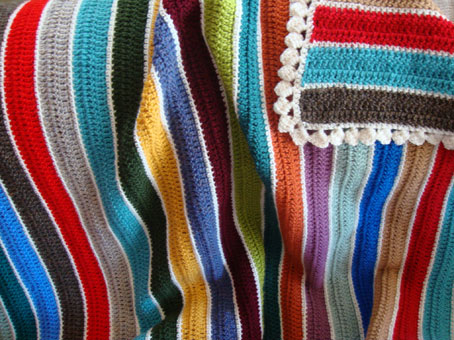
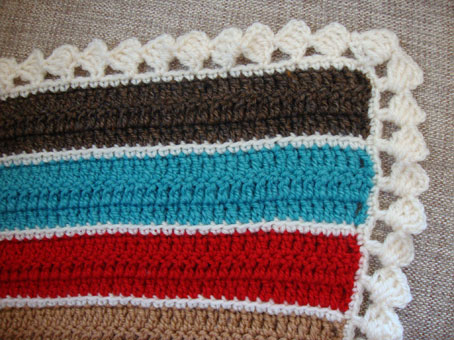
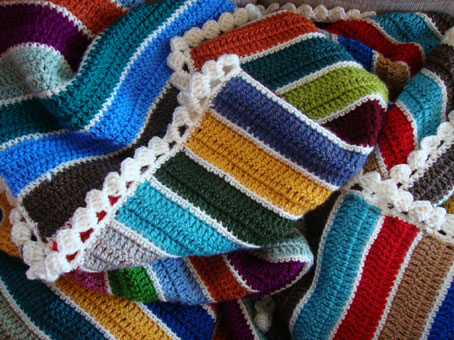
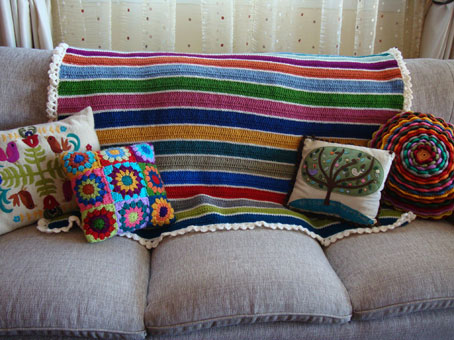
I’ve began my “Ripples of happiness” with the green color (as shown in these first two pics)
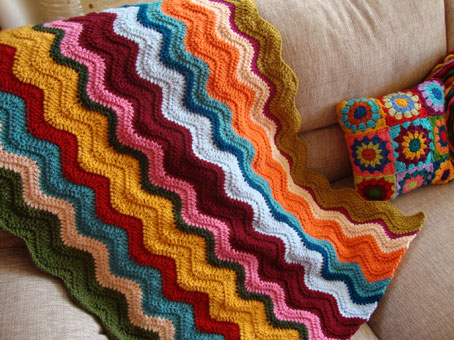
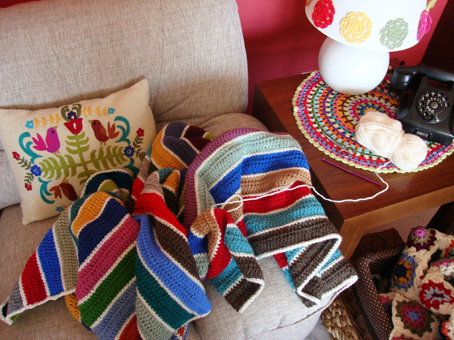
but I was not pleased with the first colors… so instead of unraveling the whole blanket (a thing that I hate sooo much to do), I improvised and I did a tricky thing 🙂
I just added some rows to the beginning part…(the green rows)
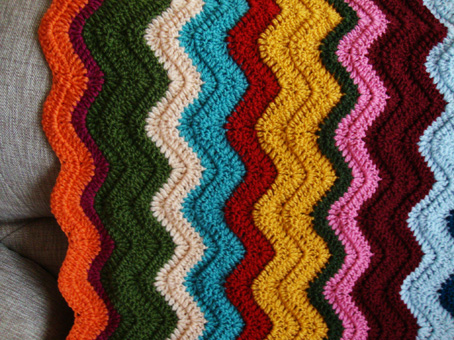
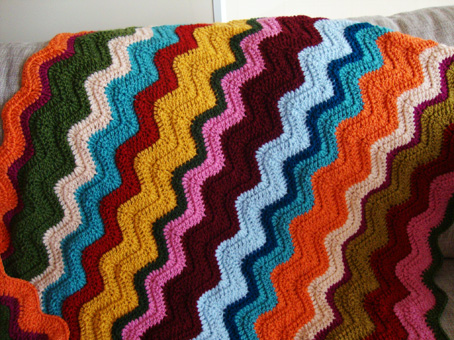
wanna learn how? well, well it is very easy…
If you’re following my pattern for your ripple all you have to do is:
1- turn your blanket
2- crochet on the beginning chain like on this graph:
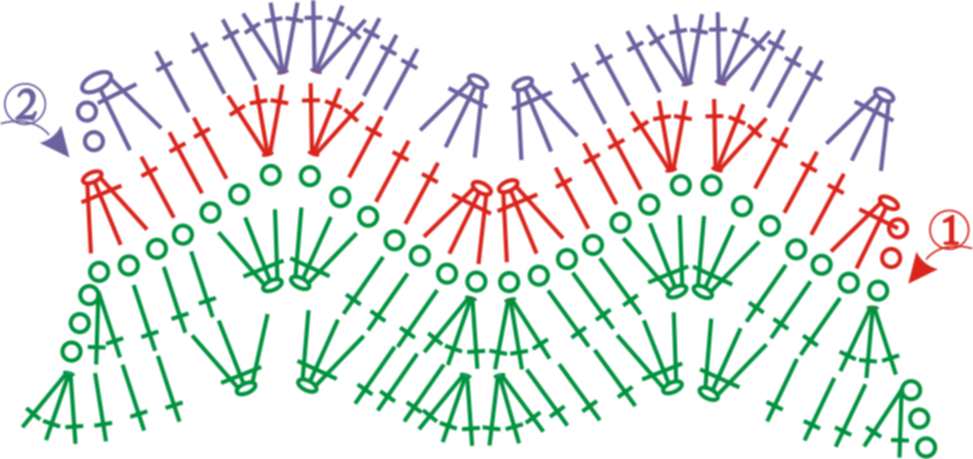
The green part is the first already crocheted rows of my blanket… I turned it…and I started with the red color on the 1 symbol (on the right) and I followed the graph… It is like crocheting the opposite of the original pattern…
Just follow the graph 🙂 and you’ll make it…
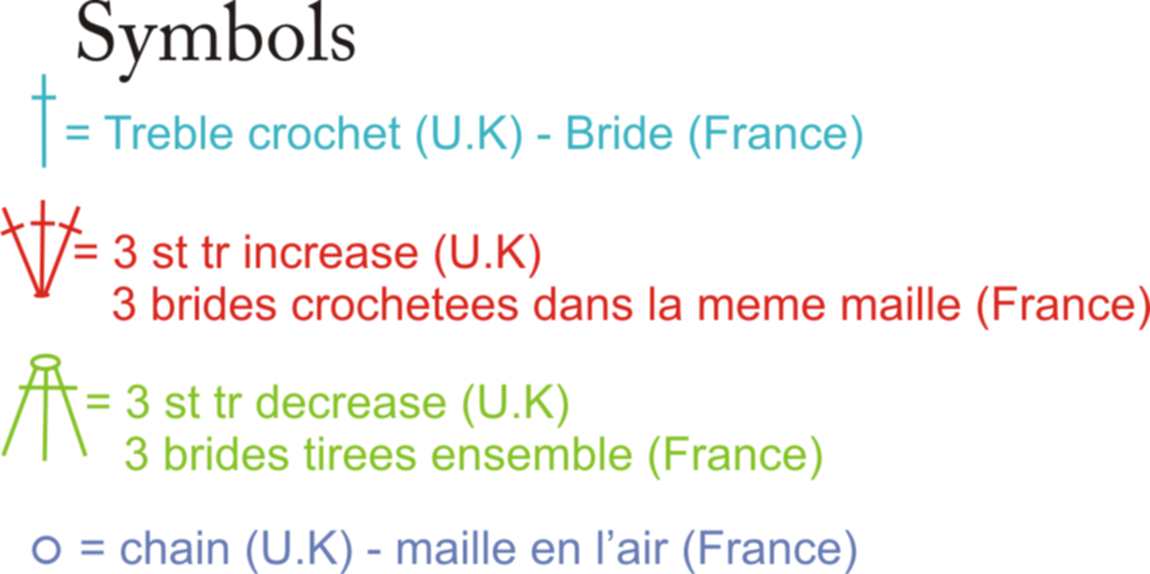
For the symbols meanings:
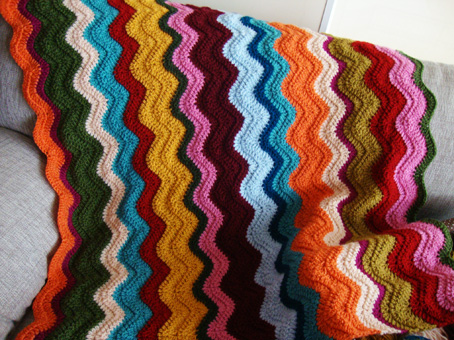
and now, you can crochet your ripple and add more colors from both sides 😀
Have to go now…
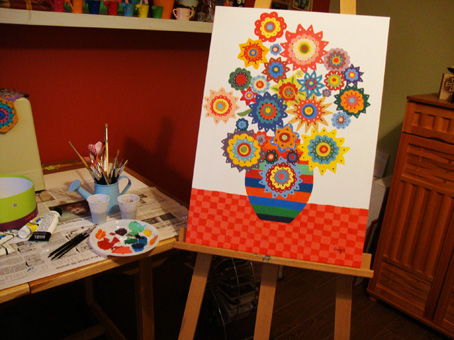
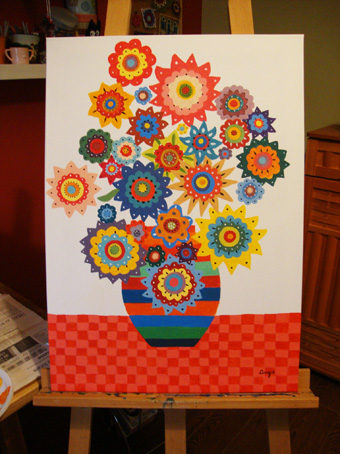
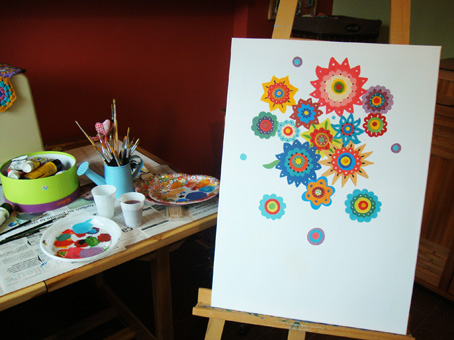
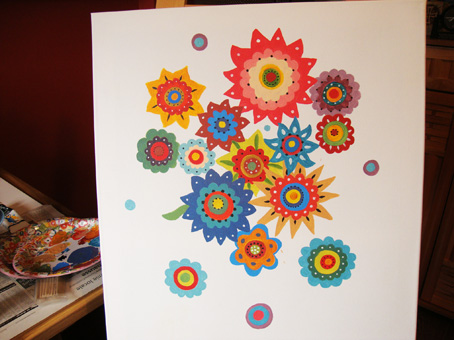
I have an urgent need to paint … I’m going right now to take out my brushes and colors and make some flower painting… wanna join? 🙂
I’m sending you colors and love through this post… catch them!!
Have a super monday!
Sucrette
