13 Aug

A double tadaaaa

Hello hello hello!

What shall I show you first today? This post is special as I have to show you two finished projects and they are both lovely ๐Ÿ™‚

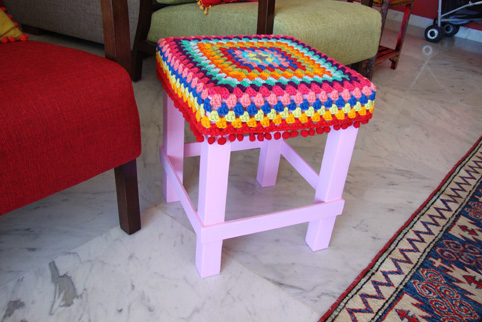
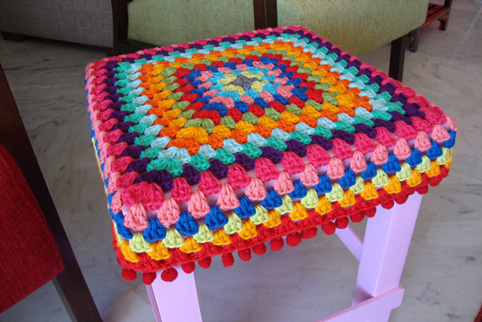
Ok. First.The pink stool.

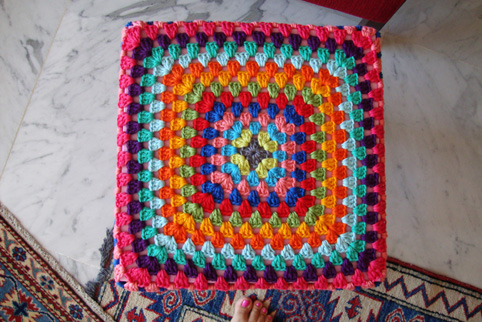
I’ve had this wood stool from ages ago but it was in an ugly brown…I painted it pink and decided to make for it a nice crocheted cover…that was in may 2012 if my memory is good … I started it with the Ricco creative cotton… and never blogged about it…

Last week I decided to finish it ๐Ÿ˜‰

Because I was into “stools” and was making the red one for a special order, the pink one had to be done too…

So, here it is: Enjoyyyyyyyyy………………….

pink-stool-done1

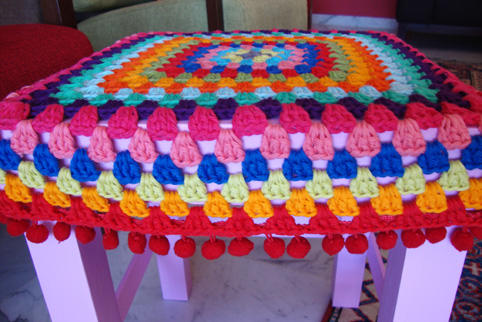
pink-stool-done2

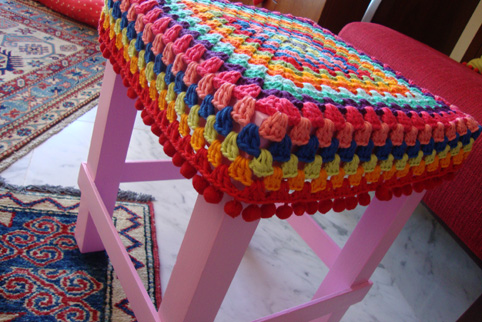
pink-stool-done3

pink-stool-done4

Yarn: Rico creative cotton

Hook: 4mm

For the edging I sew this cute pompom trim to the back of the crochet ๐Ÿ™‚

I love pompoms ๐Ÿ˜€

This last pic show the pink color of the wood as it is “live”

pink-stool-done5

And for the second project…

I am sure you already guessed…

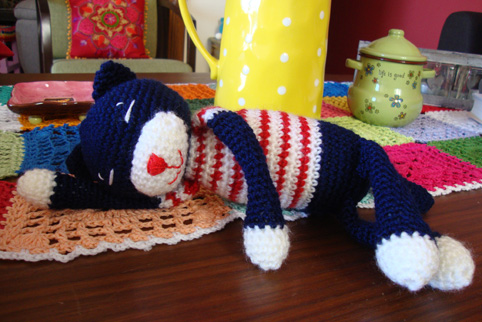
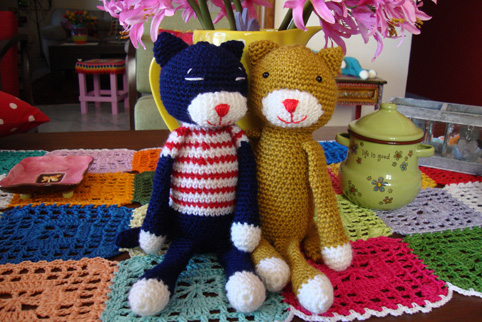
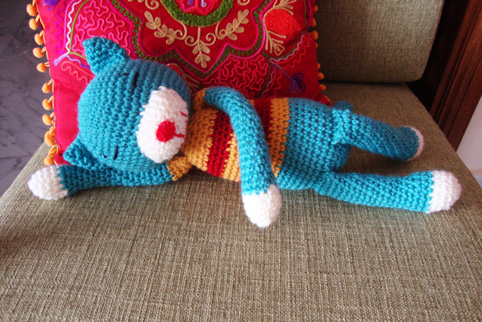
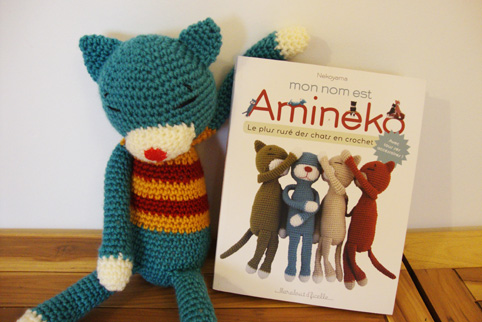
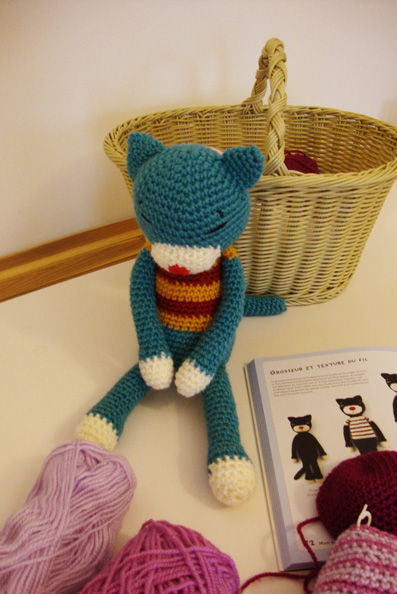
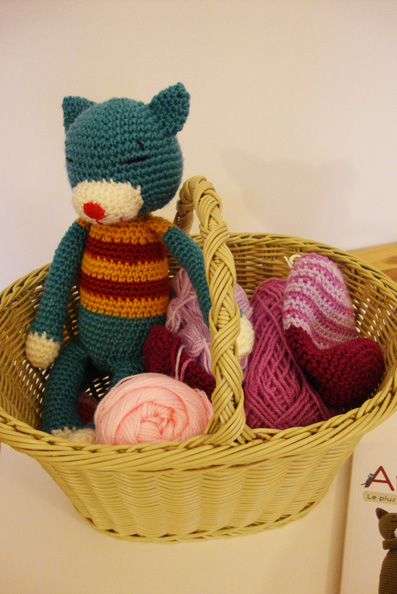
It is one more cute cat for my hubby… He chose the colors ๐Ÿ˜‰

Nicolas-amineko

and I love it! These cats are really addictive ๐Ÿ™‚

the-2-lovers-1

That’s all my friends ๐Ÿ™‚

Next time I’ll tell you about the crazy project I am in now … It is taking all my time, I’m thinking about it all day long and it is making me crazy ๐Ÿ™‚

Sending you happy kisses and lot lot of love through this post!

Sucrette

P.S: If you fancy making a cat you can order the book from the right sidebar of the blog between the lovely books. The book has very simple and clear instructions to make a cute cat on your own! Enjoy it!

02 Aug

Friday…already???

Hello sweeties,

It is friday already and we are in August. Time really flies and sometimes I just don’t realize how time is passing by so quickly…

I am crocheting a lot these days and that makes me really happy and takes all the stress away ๐Ÿ™‚

I told you in a previous post about that special order of a pink wood stool…

pink-stool-wip1

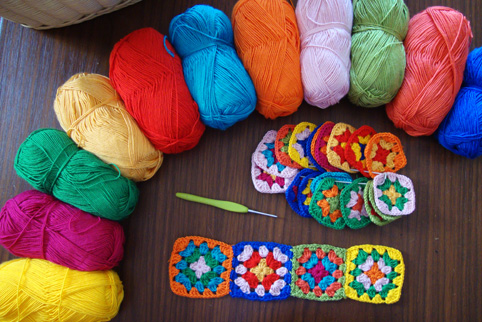
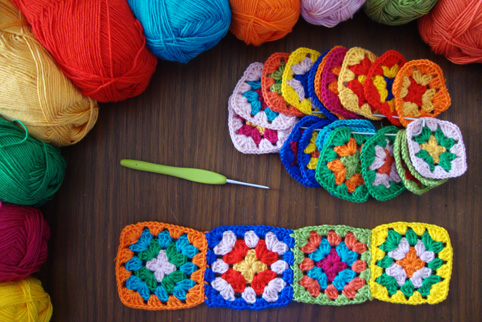
… I’ve began the crochet-granny-squares-cover of it…

pink-stool-wip2

and I am very pleased with how it is turning out ๐Ÿ˜‰

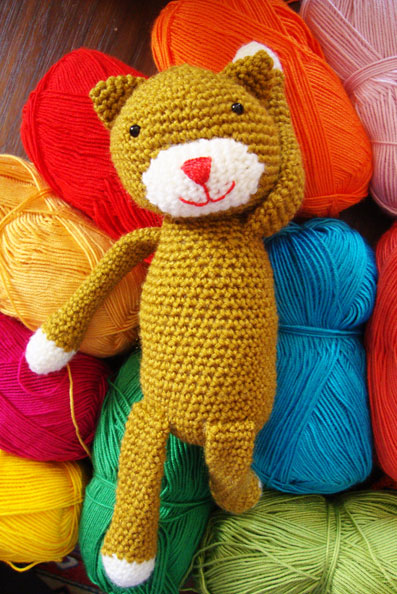
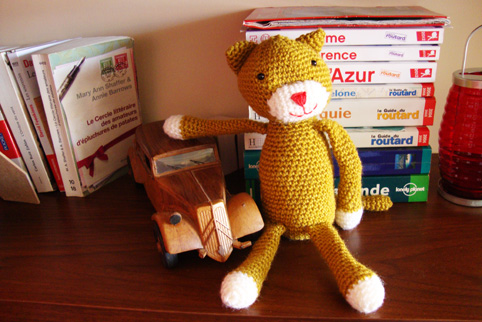
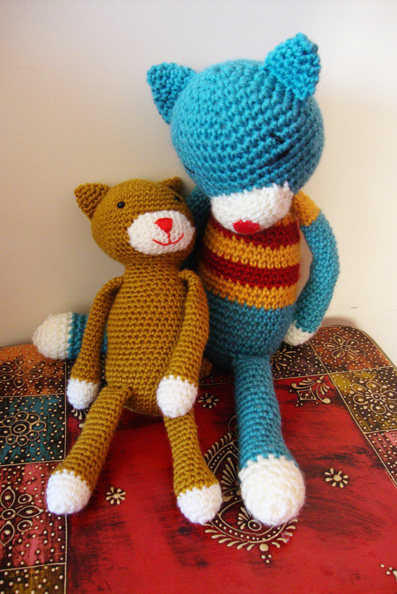
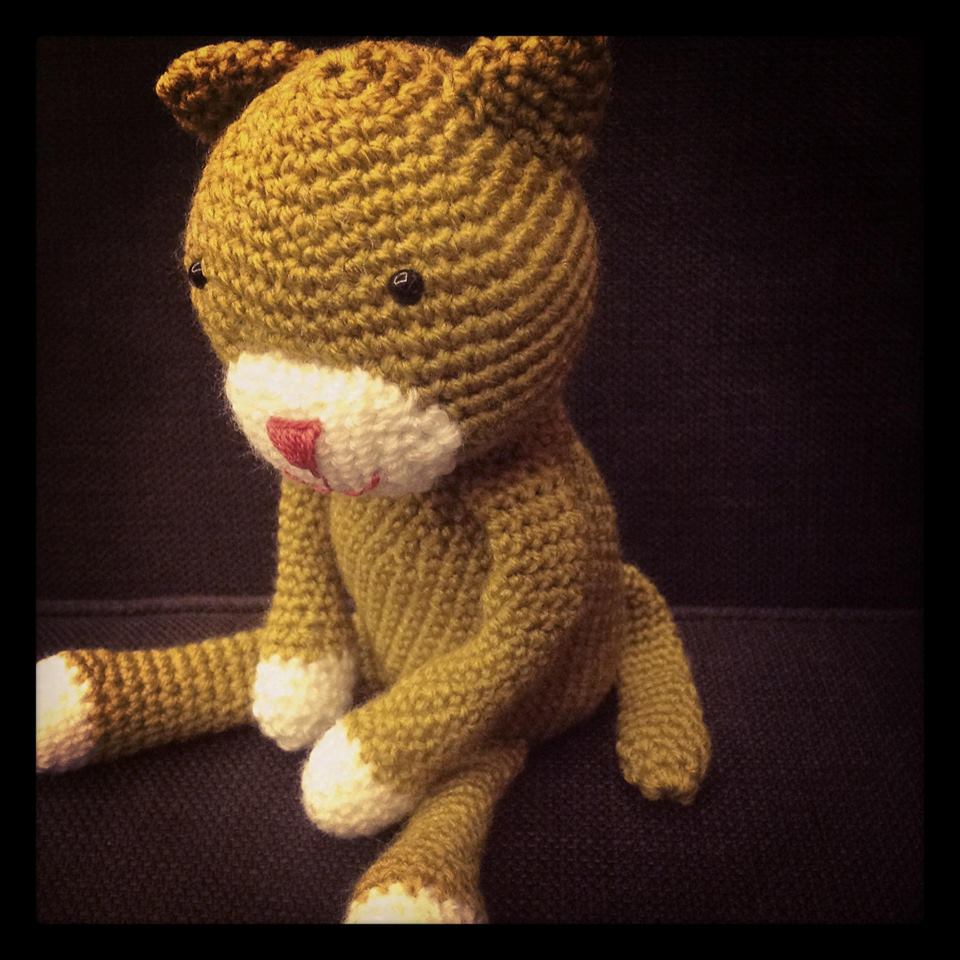
And guess what? I finished my very own amineko. Yes, this guy, this mustard guy is totally mine…

(This mustard color is my favorite of the moment. I used to hate, yes hate this color in the past…now I love it ๐Ÿ™‚ )

my-amineko

I love his wide eyes open. He seems very curious about everything just like myself ๐Ÿ˜€ ๐Ÿ˜€

my-amineko--

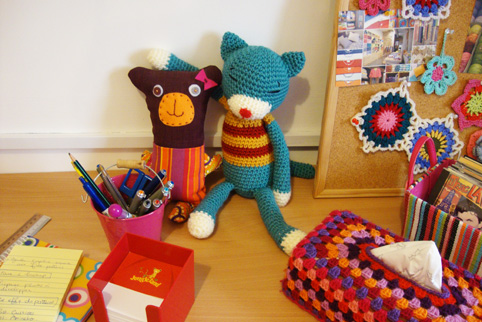
I crocheted it with a thinner yarn than the previous ones. So this one is smaller …

two-together

and guess what? Hubby wants one ๐Ÿ˜€ ๐Ÿ˜€ hahahaha and he already chose the colors ๐Ÿ™‚

But he’ll have to wait because I have to finish the stool cover first ๐Ÿ˜‰

amineko

Life is good my friend… Enjoy it… Enjoy every second of it…

Wishing you a wonderful weekend with your loved ones

Thank you for visiting!

Sucrette

22 Jul

one? two? three!!!!!!!!!!!!

Helloooooo!

Did you guess what I’m talking about??

1 the-3-of-us

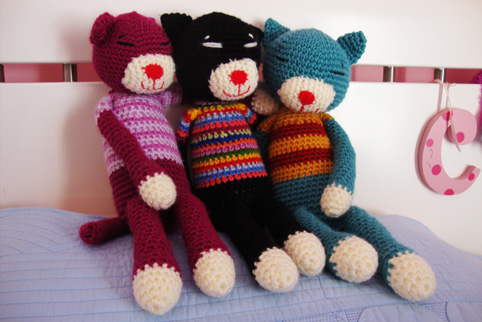
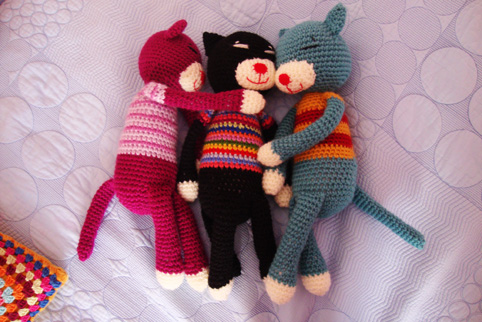
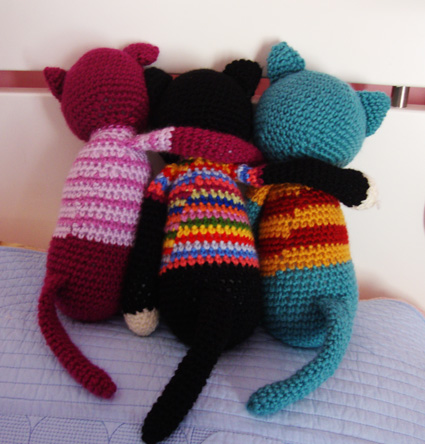
Oh yes! The crazy woman in me crocheted these 3 cats in two weeks… Well the second and third one in a week!

It was fast and mad crochet… but I kept my promise and I finished two cats for the girls before the weekend…as the blue one was made first for little Joe…and the girls wanted their own amineko ๐Ÿ™‚

6-blue

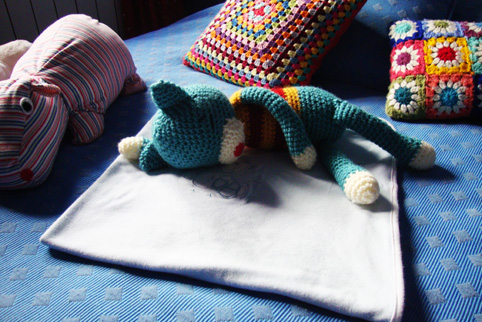
Blue was patiently waiting for his friends in Joe’s room…

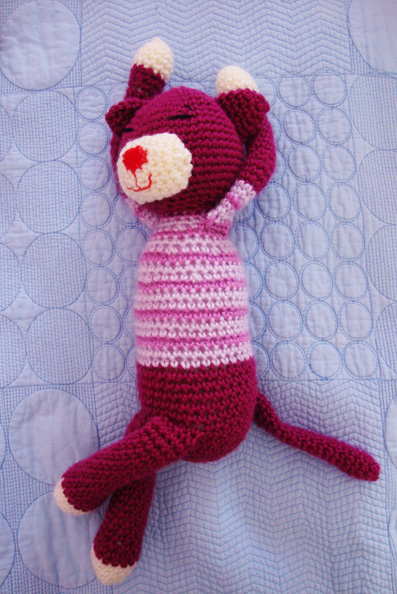
4-purple

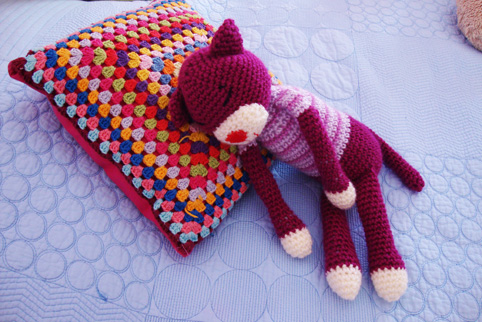
…while I was crocheting purple for Sarah… She chose the colors and was very happy once purple wasย done ๐Ÿ™‚

5-purple

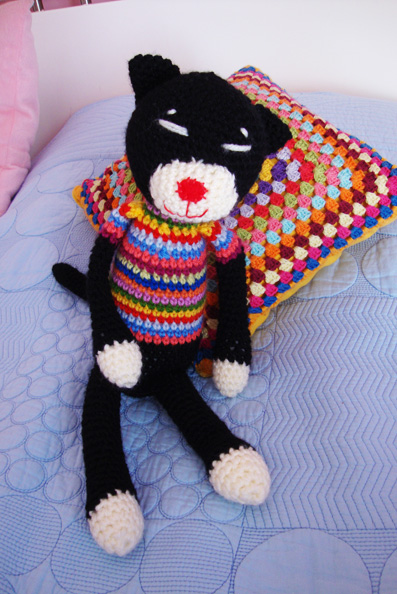
Then I asked my biggest girl Christina what colors she wanted for her cat. She answered black with a multi coloured shirt (with all the colors you have in your stash mummy ๐Ÿ™‚ hahaha ) This is my girl ๐Ÿ˜‰

2-black

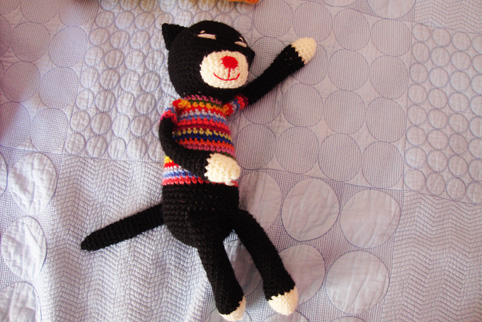
and there was Blackย in all its glory ๐Ÿ˜€

3-black

The girls slept with their cats and I was very happy…I love when theyย play withย handmade toys and I feel proud to produce something they’ll cherish for years (I hope so ๐Ÿ˜‰ )

7--the-3-of-us

These cats are my addiction of the moment…

I feel like making one for myself too (don’t tell anyone ๐Ÿ˜‰ )

8--the-3-of-us

If you want to make your own “amineko”…ย  (It is very easy to crochet) … You can purchase the book in this previous post of mine here…or in the left sidebar of the blog between the books ๐Ÿ™‚

Have a wonderful monday!

Sucrette

17 Jul

A new addiction called amineko :)

Good morning sweeties,

How’s everything? Are you enjoying summer?

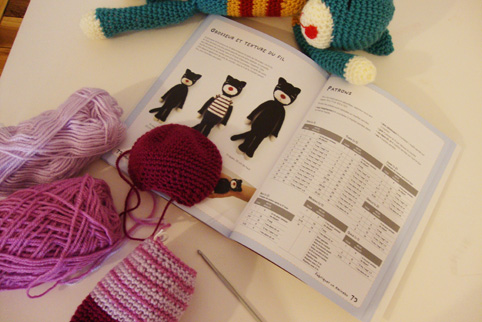
Last week I discovered a very cute book and since that moment I am totally addicted…

amineko1

Totally in love with that little cat…and totally addicted in the “making-process” of it ๐Ÿ™‚

amineko2

amineko3

I started my second “amineko” yesterday. He needs a friend no? ๐Ÿ™‚ Look how he is patiently waiting for me to finish his friend ๐Ÿ˜‰

amineko4

Ami means friend and neko means cat in japanese. The book is a japanese one but it has been tranlated into english and french. I just “love” japanese books. Aren’t they the best?

amineko5

It is a very easy to make cat , the instructions of the book are very clear and simple and there is a very funny story about amineko.

amineko6

Now I am totally into making “amineko”s. How many will I crochet? ๐Ÿ˜€

amineko7

I will not stop with just two …I am sure… I left all my wips behind and I am enjoying enjoying enjoying to the max this amigurumi cute cat…

amineko8

Isn’t it adorable?

If you would fancy making an amineko…

You can find here the book in english.

And for my french ladies, you can find it here ๐Ÿ˜‰

I also changed the books in the left sidebar of the blog, if you love to take a peek, they are all wonderfull !!

And one more little thing before I go… You can now leave a comment on the post…It wasn’t working on my last one and I was feeling miserable without all your kind words…It really means a lot to me… Justย say hello so I know that you are here… it makes me really happy…

Wishing you sunshine, love, peace and many many moments of joy…

Sucrette

16 Mar

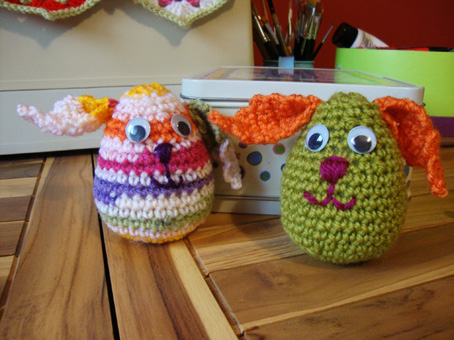
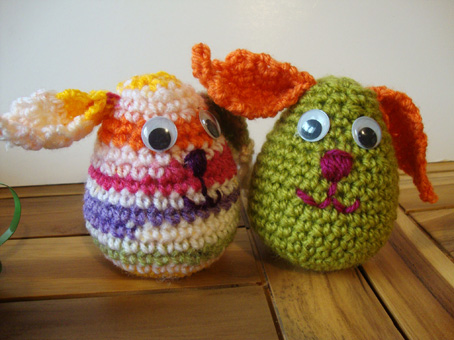
Easter bunny egg: the pattern

Hello sweeties,

This is today, as promised, how to crochet your little bunny egg ! It is very simple and easy and I’ll try my best to make my explanations clear ๐Ÿ˜‰

First, you have to choose your yarn and a crochet hook a little smaller then the one suggested on your yarn…to have a neat look and tight stitches….so the stuffing won’t appear between the stitches…

I made my bunny with a 100% acrylic yarn and choose a 3.5 mm crochet hook instead of the 4.5mm suggested on the yarn…

I’ll explain here the pattern using the U.K terms…Remember a dc in the U.K terms means a sc in the U.S terms ans a “maille serree” in the French terms…a “2-st dc decrease” means in french: 2 mailles serrees tirees ensemble…

The pattern is made mostly with dc…

The bunny is made with: one body-egg, 2 ears and one tail…

So? Are you readyyyyyyyyyyyy? let’s make it!

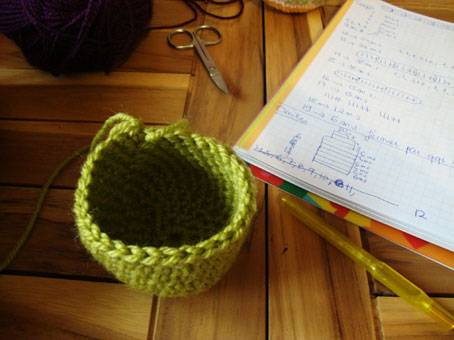
Let’s begin first with the body-egg part:
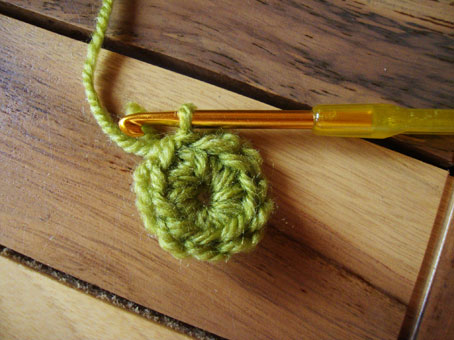
Round1: In a circle made with 4ch, crochet 10 dc.

Rnd2: make 2dc on everyย stitch of the previous round: that means 20 dc

Rnd3: 20dc

Rnd4: 30 dc (crochet one dc, 2dc, one dc, 2dc etc on everyย stitch of the previous round)

Rnd5 to Rnd11: 30dc (7 rounds of 30dc each)
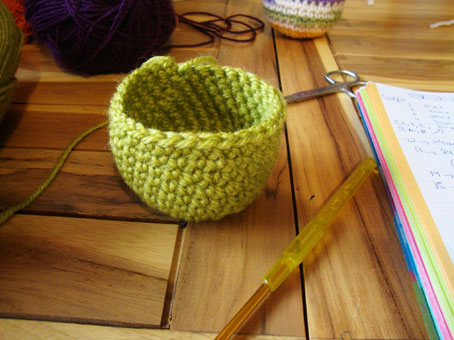
Now, you have to begin the “decreasing” part:

Round12: 24 dc (1dc, 1dc, 1dc, 2-st dc decrease, 1dc, 1dc, 1dc, 2-st dc decrease, etc etc on every stitch of the previous rnd)

Rnd13: 24 dc

Rnd14: 18 dc ย (1dc, 1dc, 2-st dc decrease, 1dc, 1dc, 2-st dc decrease, etc etc on every stitch of the previous round)

Rnd:15 18 dc

Rnd16: 15 dc (1dc, 1dc, 1dc, 1dc,ย 2-st dc decrease, 1dc, 1dc, 1dc, 1dc,ย 2-st dc decrease, etc etc on every stitch of the previous rnd)

Rnd17: 15 dc
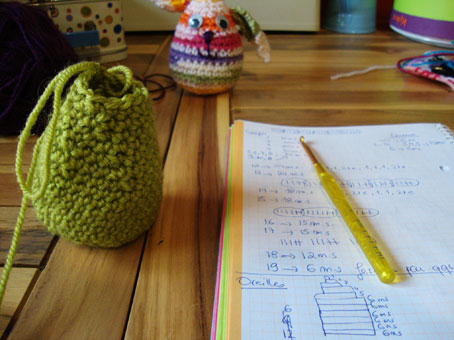
Stuff here your egg!
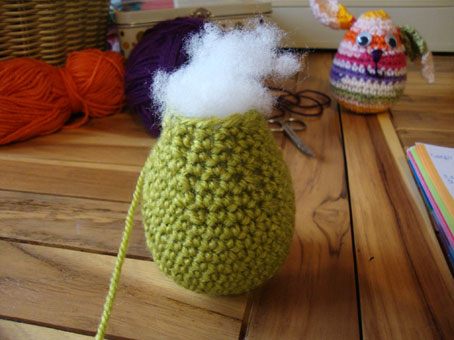
Rnd18: 12 dc (1dc, 1dc, 1dc, 2-st dc decrease, 1dc, 1dc, 1dc, 2-st dc decrease, etc etc on every stitch of the previous rnd)

Rnd19: 6 dc (2-st dc decrease, 2-st dc decrease, etc etc)

Sew some stitches to close your egg!
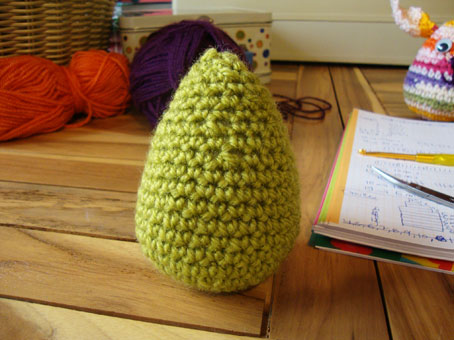
You’ve got now an Easter egg…You can just make Easter eggs following the pattern above …Colorful, striped eggs etc

orย you can continue to make your little bunny ๐Ÿ˜‰

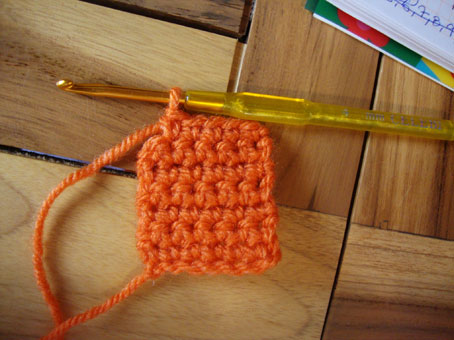
The Ears:

The ears are worked in rows. To make an ear:

Row1: Crochet on a row of 6ch, 6 dc

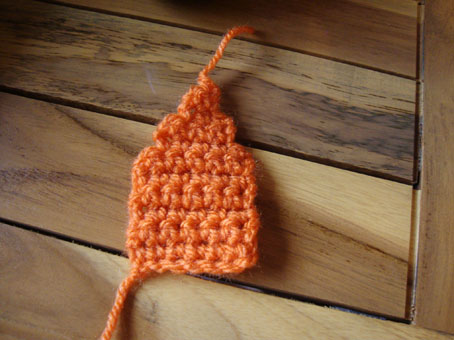
And continue following the graph below until row11:
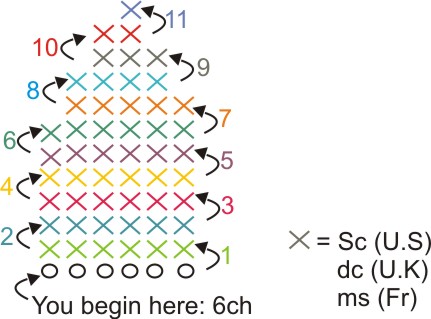
You’ve got an ear ! Make another one!

You still have the tail to make and all the body parts of your little bunny will be ready ๐Ÿ™‚

The tail: Worked in rounds.

Round 1: In a circle made of 3ch, crochet 6 dc.

Rnd2: 9 dc (1dc, 2dc, 1dc, 2dc on each stitch of the previous round)

Rnd3 and 4: 9 dc.

The tail is done! Your little bunny is almost ready…
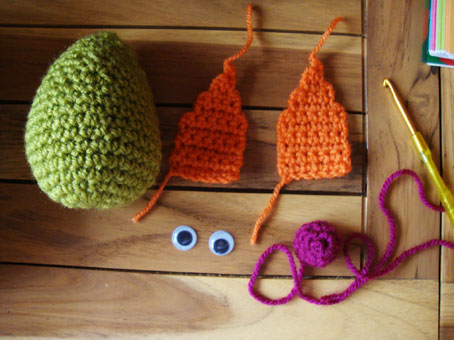
You have just to sew all its parts together…

Fold in two each ear before sewing it to the body…

Sew two eyes, or use beads or glue ready-craft-eyes …

Sew the nose…
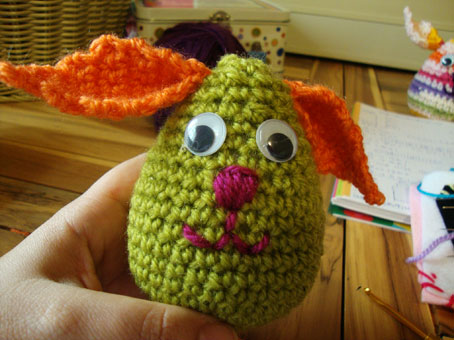
Stuff a little the tail before sewing it to the back of the body…
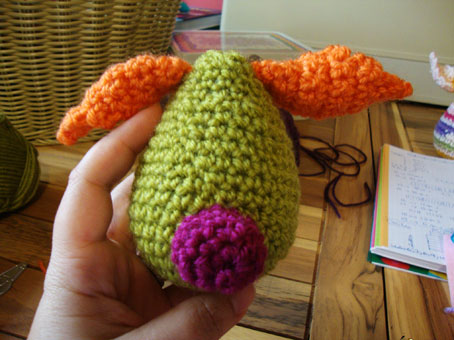
Your Easter bunny egg is ready ๐Ÿ™‚

Happy crocheting my friend!

Sucrette

P.S: For any question, do not hesitate to e-mail me at: sucrette@lemondedesucrette.comย and I’ll be more than happy to help!