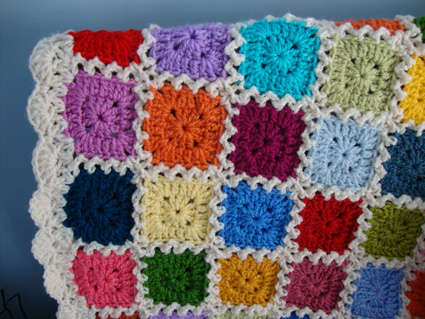
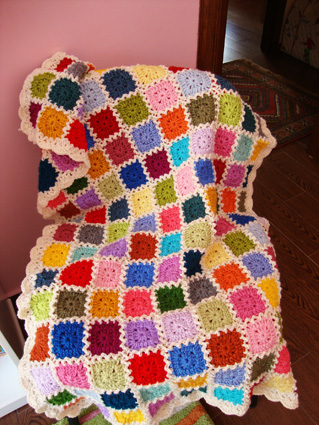
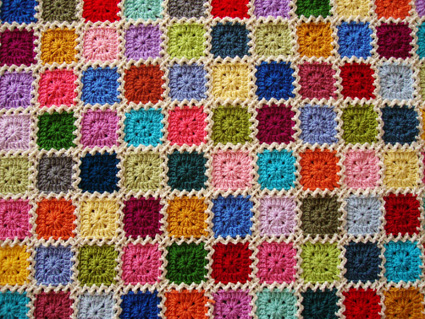
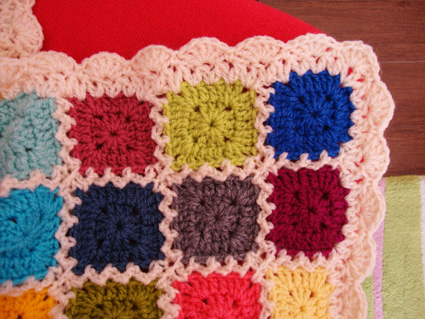
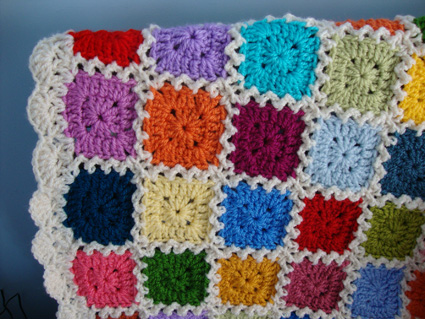
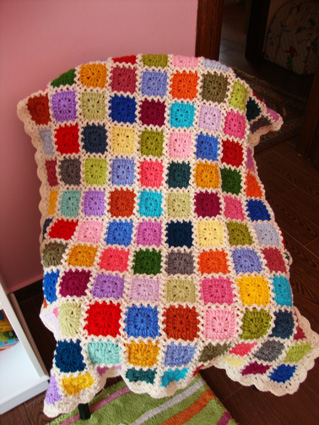
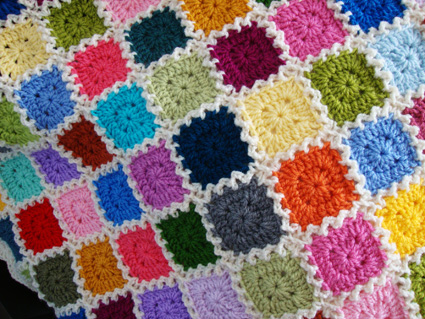
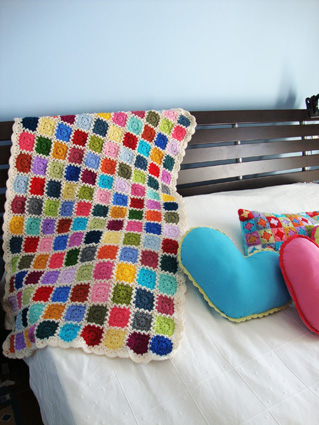
Well well well, it was such a pleasure reading all your sweet messages on my Kaleidoscope blanket! Thank you thank you ThAnK YoU 🙂
This is as promised, the ZIG ZaG Joining method…
Hope that my explanations will be as clear as possible for you to understand… I apologize for those of you who do not understand graphic patterns…this is my only way to explain crochet 🙁 sorryyyyyyyyy 🙁
So, let’s have a try, shall we?
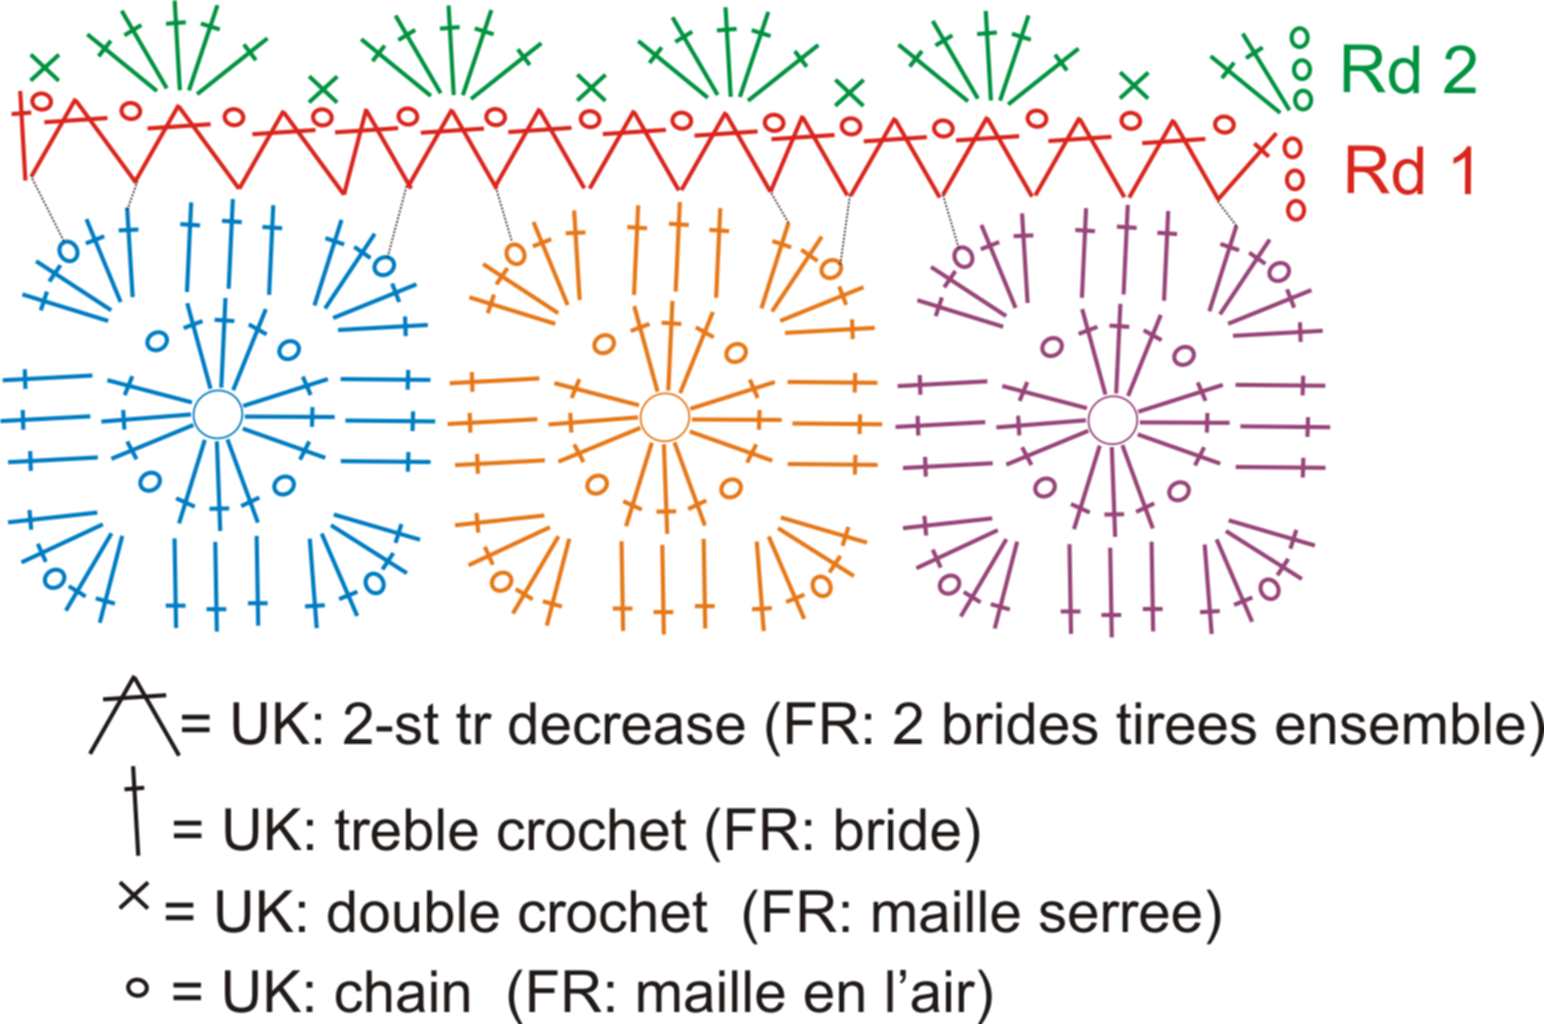
To begin this is the graphic pattern of the small square:
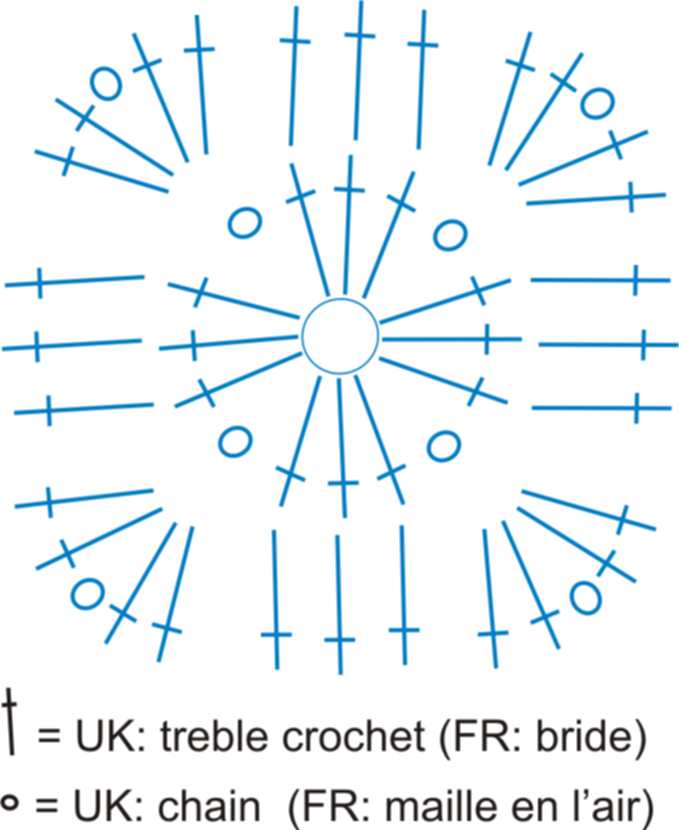
and then lets take a look to the ZiG ZaG joining graphic:
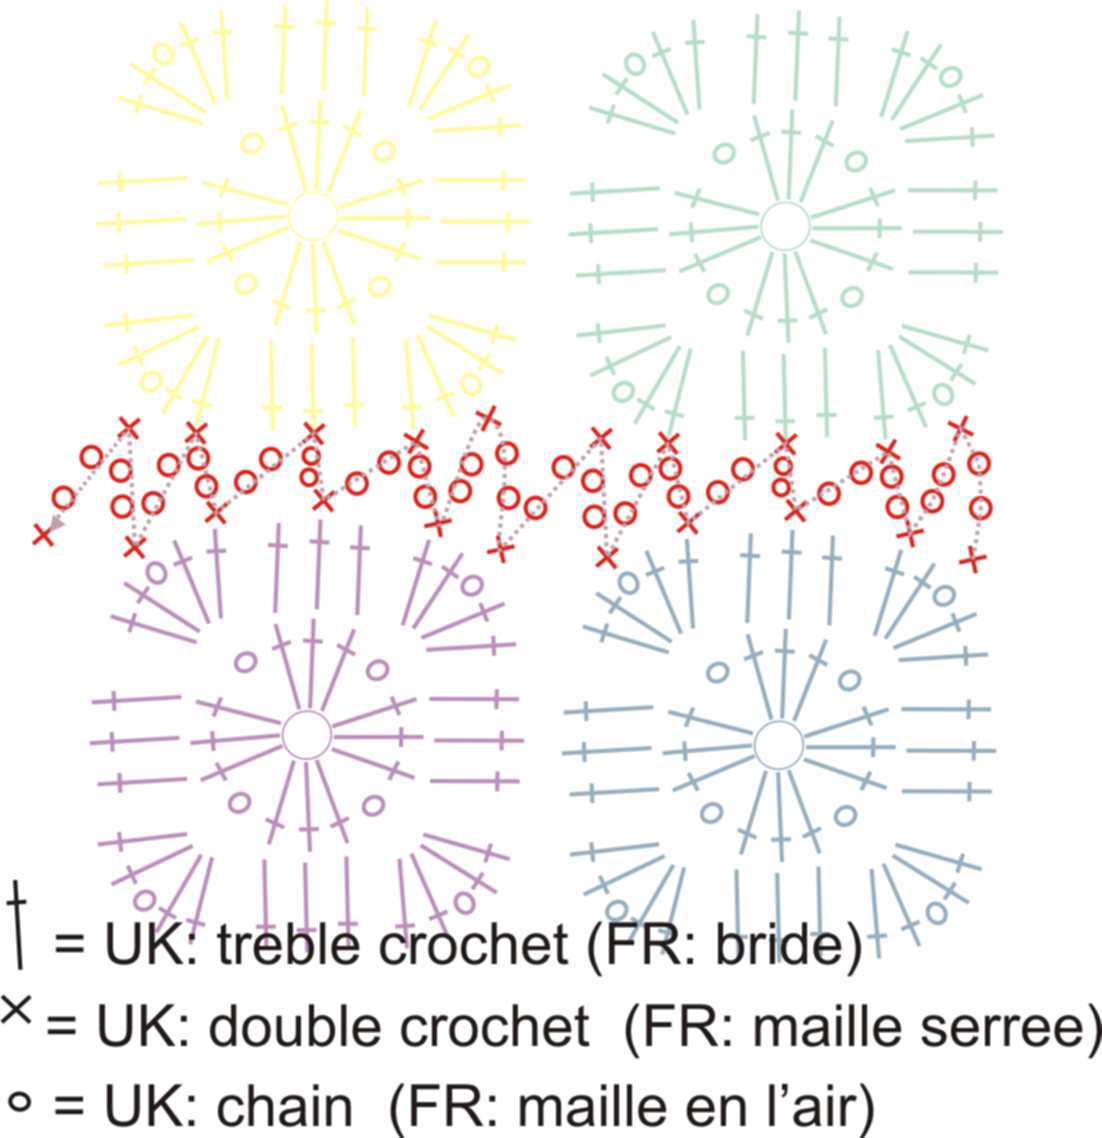 The red graphic is for the joining …You have every time to make a double crochet in your first square, 2 chain and another double crochet in the second square in EXACTLY THE SAME PLACE YOU DID THE FIRST ONE IN YOUR FIRST SQUARE !
Once this simple thing is clear all will become very easy to follow… Always always make a dc in the first square, 2 chain followed by another dc in the second square in exactly the same place…
I suggest for you, as a trial, to begin joining 9 squares to make a small blanket of 3×3 squares as in this pic:
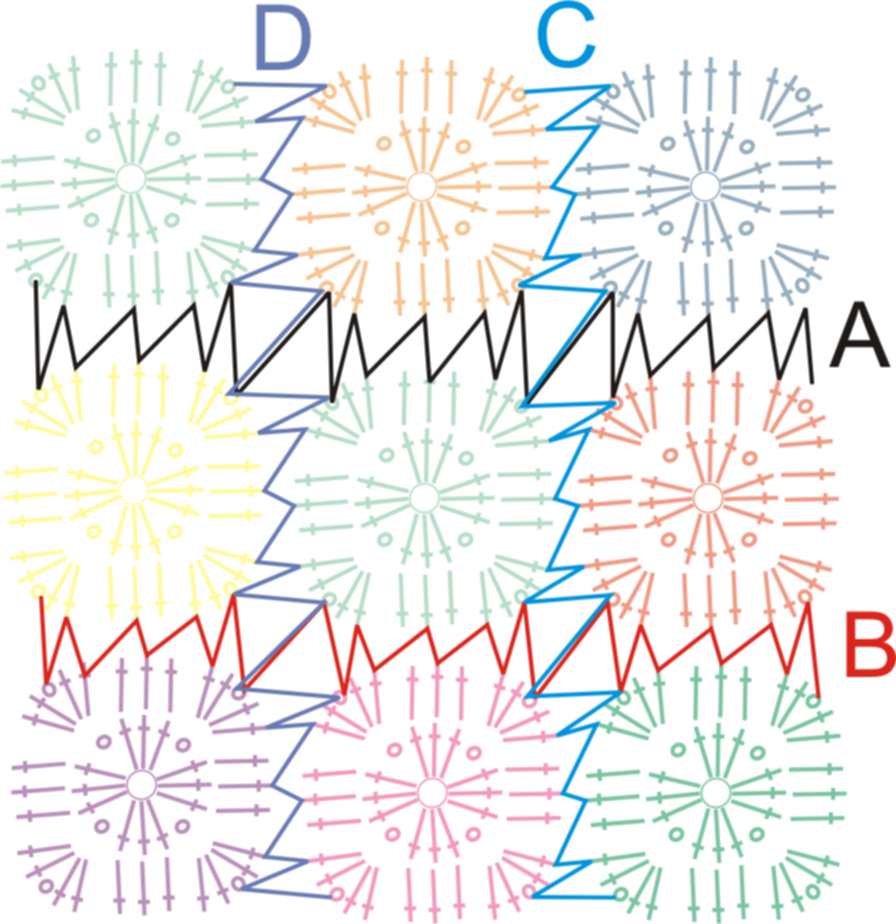 You have always to work as follow : Join all the squares of your blanket horizontally (A then B) and after you’ve made all your horizontal joining, you join all your squares vertically (C then D)
This method (joining horizontally everything then vertically) will make the joining very fast…I took some pics to make it clearer for you…
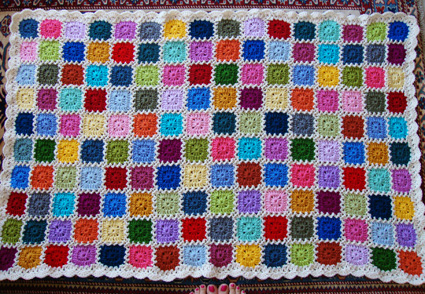
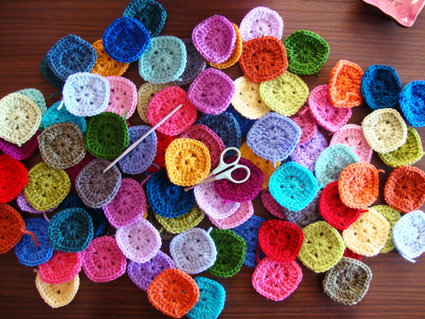
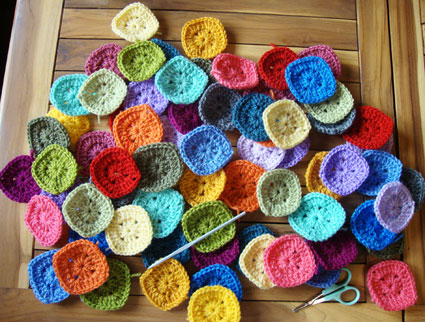
 Pic 1: Arrange the colors of your squares as you want them to be in your blanket … I made here 3 rows of 10 squares each (because I have a total of 30 colors )
 Pic2: Begin the horizontal joining of row1 with row 2 and then row2 with row3…etc
 Pic3: Continue joining row by row horizontally…until all rows are joined horizontally like in Pic4 below

Pic4: After all the rows are joined together horizontally, begin the vertical joining (here in this pic above, one vertical joining is done)
 Pic5: All the rows have been joined horizontally and vertically…time to begin the edging 🙂 (which will be explained in my next post 😉 )
Hope it was easy to understand…when you just read this post you’ll feel a little bit confused maybe, the best thing to do is to take a hook and some yarn, make 9 small squares and try joining them …
Thank you for visiting today!
Sending you lots of love through this post 🙂
Sucrette
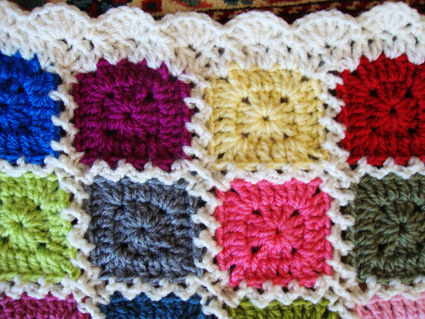 A ZiG ZaGy kind of edging 😉 … Here is the graphic chart…( I make the graphics with a software called Corel Draw)

